Vintage picture frames: choosing the size, and hanging a wall of them
A frame is named by the print it takes, oval and heart crop the corners, and a wall of frames is planned on the floor first, not on the wall.
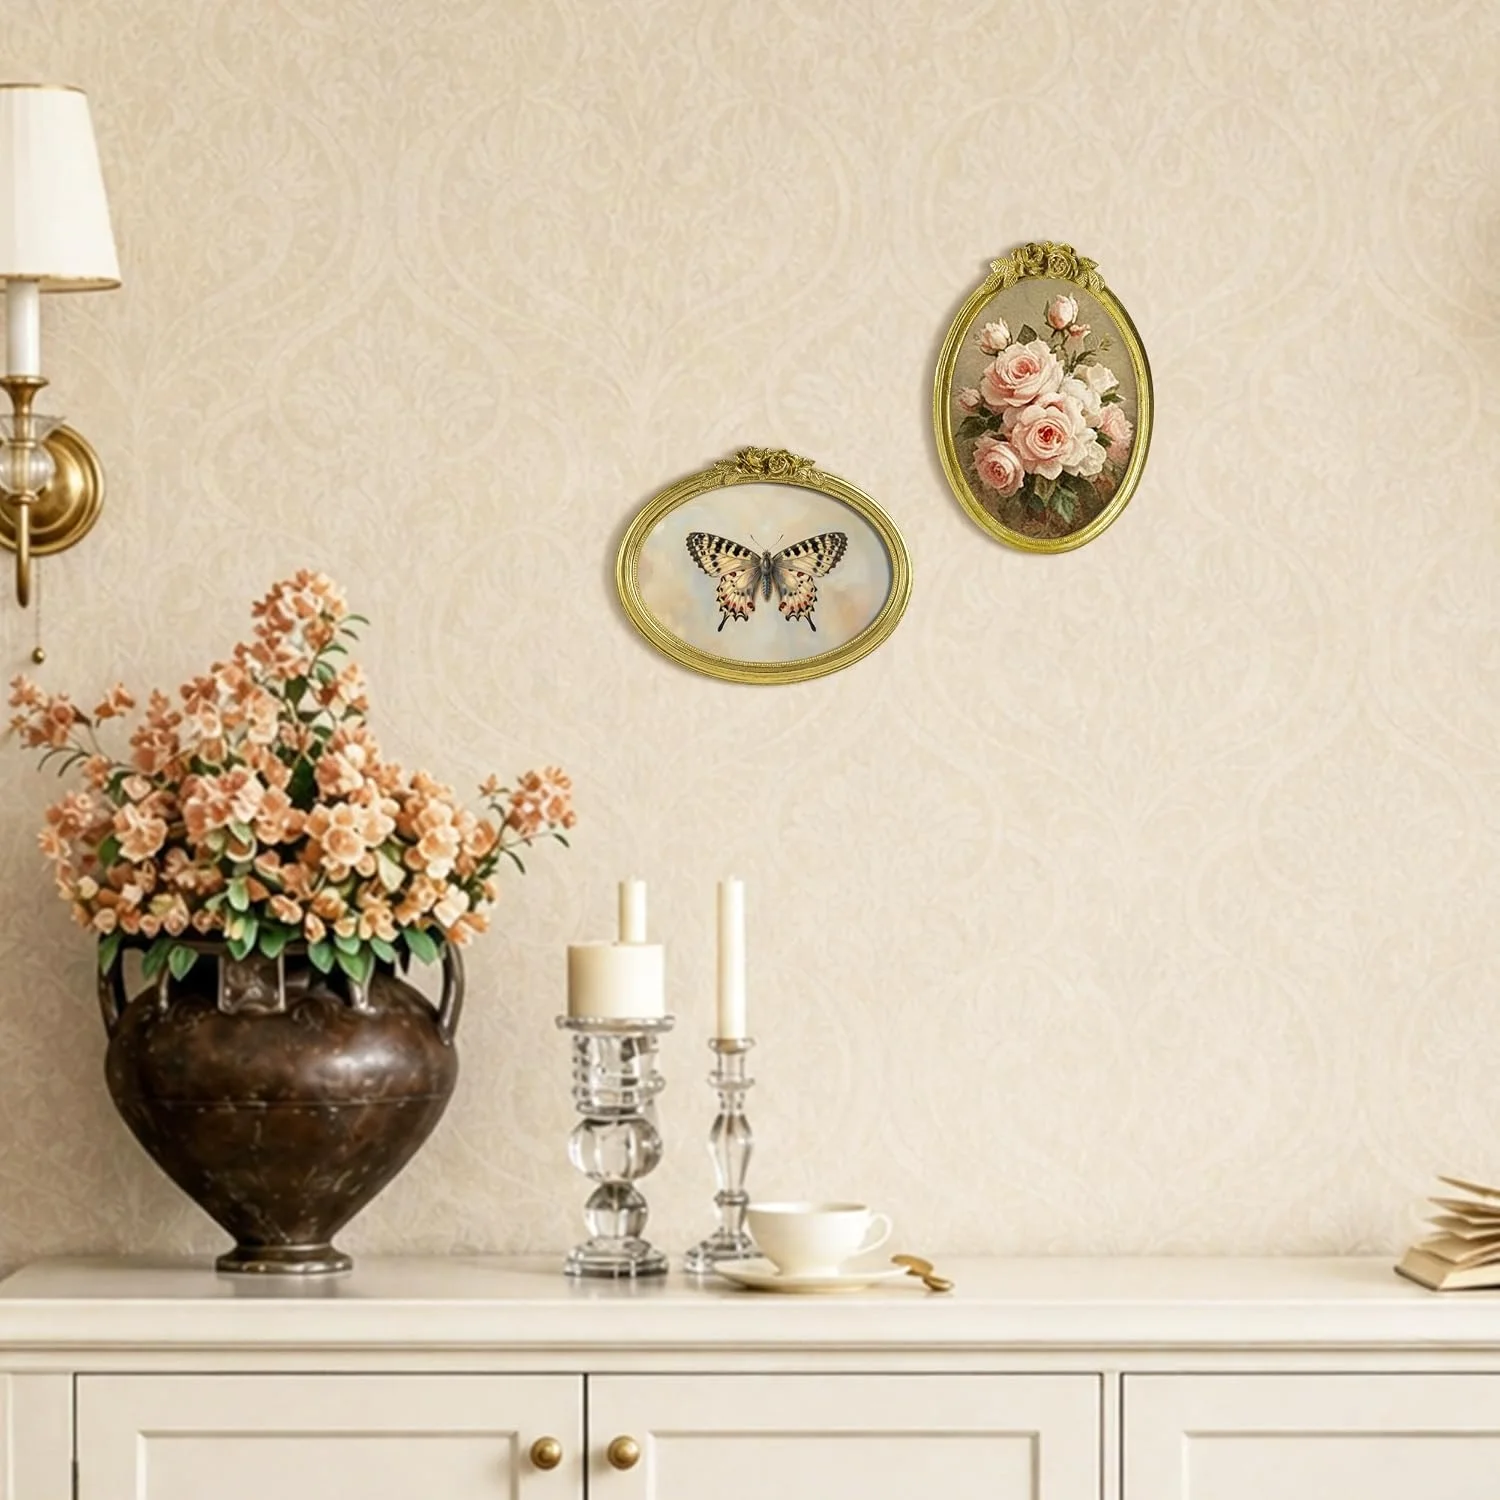
Why a frame changes a print
A print is a piece of paper. It is flat, thin, and it bends at the corners. It slides around on a table. It picks up fingerprints. Put it in a drawer and it stays a piece of paper. Put it in a frame and something changes.
The frame gives the print a body. It holds the edges straight. It puts glass in front of the ink. It gives the whole thing a weight you can feel when you pick it up. A framed print has presence. It asks to be looked at.
Sunlit's vintage frames are cast in polyresin and brushed with gold, silver, bronze or another finish. The relief is real. You can feel the ridges and the curves under your fingers. Light catches the high spots and falls into the low ones. That is what makes a frame feel old even when it is new. The moulding is not a flat strip. It is a surface with depth, and the depth does the work.
The weight matters too. A light frame feels temporary, like something you would move next week. A frame with some heft to it says the thing inside is worth keeping. You set it down and it stays where you put it. You pick it up to dust it and you notice the weight. That is a good thing.
So before you think about sizes and shapes and hanging, think about what a frame does. It takes a piece of paper and makes it a picture. It gives the paper a border, a backing, a front, and a place in the room.
A frame is the difference between a print and a picture.
Frame sizes and what they mean
A frame is named by the print it takes, not by its own outside measurement. A 4x6 frame holds a 4x6 print. A 5x7 frame holds a 5x7 print. The frame itself is bigger, because the moulding adds width around the glass and the print. The number on the box is the print size, and that is the number you match against the photo in your hand.
The sizes we make are the sizes people actually have. 2.5x3.5 for a wallet photo or an instant print. 4x4 for a square crop. 4x6, which is the standard print size from a phone or a lab. 5x7, a little bigger, good for a portrait. 8x10, the big one, the one you hang where people will stand close and look.
The rule is simple: match the frame to the print. A 5x7 print does not go in a 4x6 frame. It will not fit, or it will be crammed in and buckled at the edges. If the print is bigger than the frame you like, you have two choices. Mat it down to size, or reprint the photo at the size the frame takes.
Matting is the better option when the print matters. A mat gives the print air. It separates the image from the frame. It also solves the size problem, because a mat can hold a 5x7 print inside a frame that takes an 8x10. The mat fills the extra space, and the print sits centered in the opening. This is the standard solution, and it looks deliberate rather than like a mistake.
Our frames have an easy-open backing. You do not need a screwdriver and a bad afternoon. The back opens, the print goes in, the back closes. If you change your mind later, you can change the print without damaging it, which matters if the print is an original.
| Frame | Where it usually goes | |
|---|---|---|
| Wallet or instant print, 2.5×3.5 | Mini frame, 2.5×3.5 | A desk, a nightstand, a row on a narrow shelf |
| Square crop, 4×4 | Square frame, 4×4 | A shelf, or one among rectangles on a wall |
| Standard snapshot, 4×6 | 4×6 frame | The most common size; the easel on a shelf or the hook on a wall |
| Portrait, 5×7 | 5×7 frame, oval for a face | A mantel, a hall wall |
| Enlargement, 8×10 | 8×10 frame | The one large frame a wall of small ones is built around |
Shapes
Rectangular is the default. It is the shape a frame was before anyone got clever. It suits almost anything. Landscapes, portraits, a page of handwriting, a ticket stub with a story. A rectangle does not draw attention to itself. It lets the print do the talking.
Oval is different. An oval crops the corners of the print. The image is trimmed by the curve, and the eye goes straight to the center. Ovals suit a portrait. A face in an oval looks composed, deliberate, like a cameo. They also suit a single flower or a small still life, where the subject sits naturally in the middle of the frame.
Heart is for the obvious things. A wedding photo. A child's first picture. A valentine. It is not a subtle shape and it does not try to be. You know when you want a heart frame, and you will not be talked out of it.
Square is for a square crop, which usually means an instant print. The square frame matches the square photo. It also works for a detail shot, a close crop of something where the rest of the world has been cut away. A square frame is calm and balanced.
Arched is the one people do not expect. The top of the frame is a gentle curve, like a window or a church door. It suits a standing portrait, a building, a tree. It gives the print a little architecture. The curve draws the eye upward and gives the image a sense of height.
The shape does as much work as the finish. A rectangular frame is polite. An oval is formal. An arched frame is quietly dramatic. Choose the shape that does what you want the picture to do, and let the print decide.
Finishes
The frames are cast in polyresin and brushed with gold, silver, bronze or another finish. The brushing is the part that matters. A solid color is flat. A brushed finish has texture, little streaks where the light catches differently. It looks like metal that has been handled, like something that has been on a mantel for years.
Gold is warm. It suits a room with warm light, wood, cream walls, a brass lamp. Bronze is warmer still, closer to brown, and it sits well with leather and dark wood. Silver is cool. It suits gray, blue, white, a room with chrome and clean lines.
Can gold and silver mix on one wall? Yes, if you are deliberate about it. The frames do not have to match. They have to agree. One way is to let the prints do the talking. If every print is black and white, the finishes can wander. The eye reads the pictures first and the frames second, and the differences become a texture rather than a clash.
Another way is to keep the shapes consistent. Gold rectangles and silver rectangles on the same wall read as a set. Gold rectangles and silver ovals read as a jumble, unless the ovals are few and placed with care.
The safest mix is gold and bronze. They are both warm. They sit together without arguing. Silver is the one that needs a reason to be there. If the room is cool, silver is the reason. If the room is warm, silver will fight the room.
If you are not sure, pick one finish for the wall and let the sizes vary. That is the quietest way to fill a wall, and it is rarely wrong.
Stand or hang
Every frame has an easel stand on the back and hanging hooks. That means the same frame can live on a shelf or a wall, and you can move it between the two without buying anything new. Sunlit's frames all carry both, so the choice is yours on the day.
The easel is for a shelf, a nightstand, a desk, a mantel. It folds out and props the frame up. The frame sits at a slight angle, which is good for looking down at it. A frame on a nightstand with a photo of someone you like is a small daily pleasure. You see it when you wake up and when you go to sleep, and it costs you nothing but the shelf space.
The hanging hooks are for the wall. Two hooks, usually, so the frame hangs level. The frame's own hanger is the thing you attach the picture hook or nail to. More on that in the hanging section.
Some frames come as sets of two. A pair on a mantel is a good use. Two matching frames, two related prints, a little symmetry. Or two frames of the same finish with different shapes. A pair works because it is a sentence with a subject and an object. Three is a paragraph. One is a single word, which can be enough if the word is good.
Frames in our range
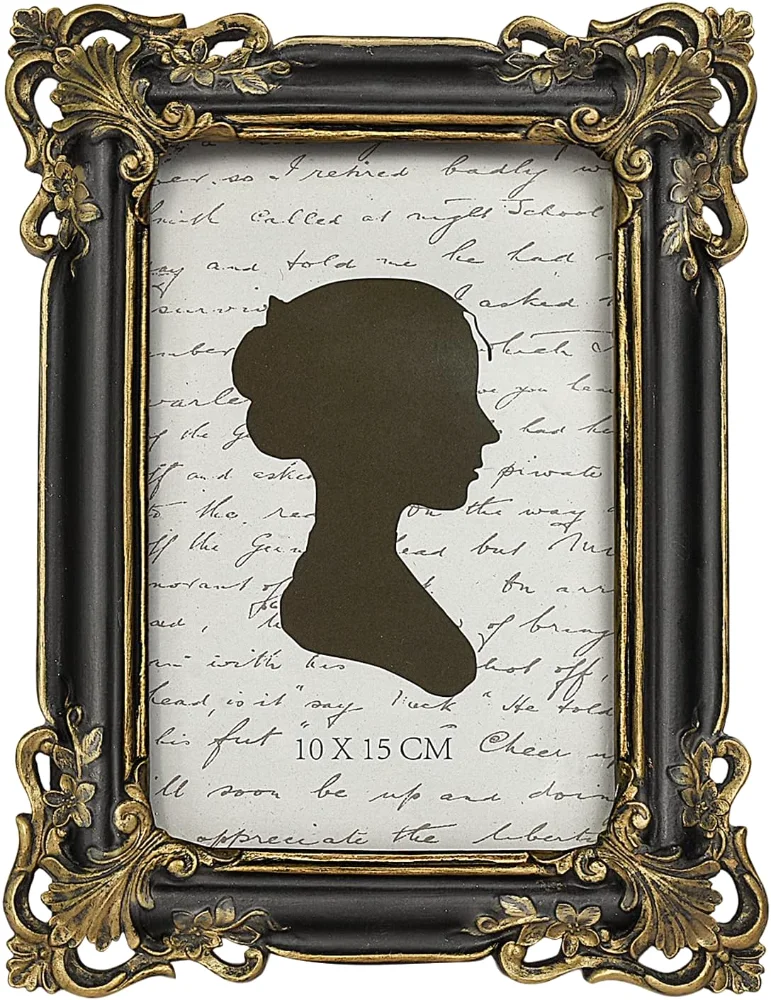
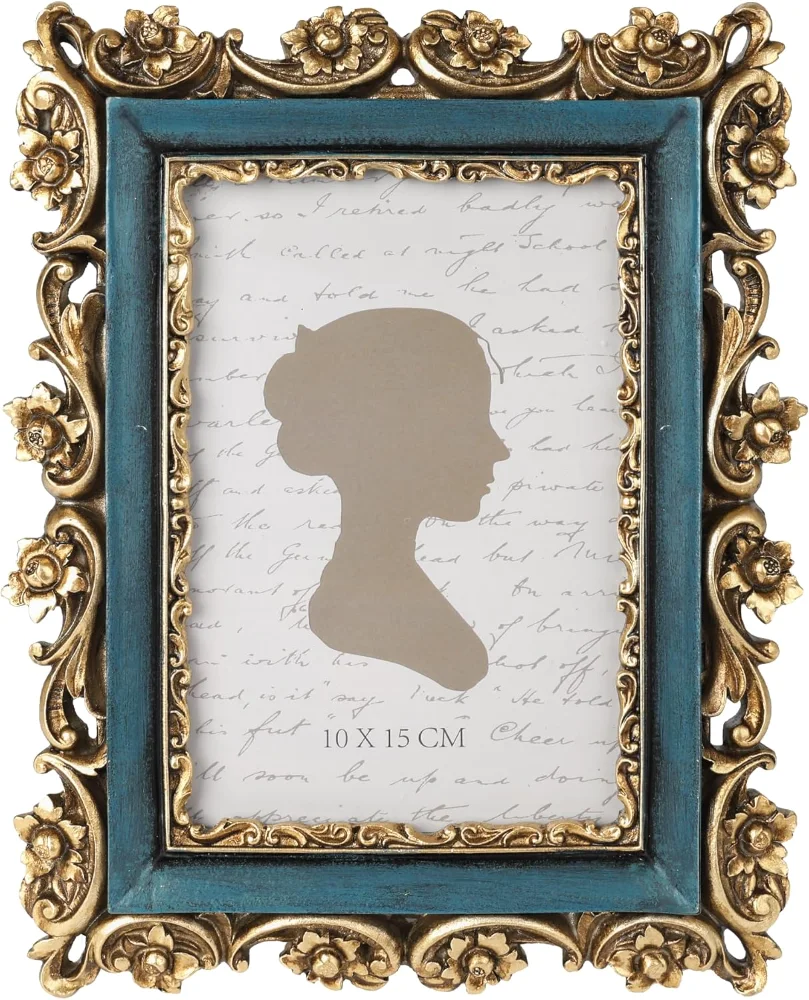
Three of the frames. Cast in polyresin, brushed, a glass front, an easel and hooks on the back.

The print inside
Here is the part nobody likes, so let us keep it short and practical.
Light fades prints. Sunlight especially, but even ordinary room light does it over years. The Library of Congress says to limit light exposure for photographs. That is the first thing to know, and it is the thing most people do not know.
The second thing is adhesives. The Library of Congress says adhesives should not be used directly on the print. No tape on the back of the photo to hold it in place. No glue. The print should sit in the frame without being stuck down. Our frames have an easy-open backing, so the print can be held in place by the backing and the glass without any adhesive touching it. The backing presses the print against the glass, and that is enough.
If a print is going in a frame by a sunny window, put a copy in the frame and keep the original in a box. Copies are cheap. Originals are not. This is not a rule about our frames. It is a rule about light. Every frame lets light in through the glass. The glass protects the print from dust and fingers and spills, but it does not stop light.
Matting is what conservators use. An acid-free rag or museum board mat goes between the print and the frame. The mat keeps the print from touching the glass, which matters, because a print pressed against glass can stick to it over time in damp conditions. The Library of Congress says matting and framing should follow preservation guidelines. Acid-free board is the standard, and it is not expensive.
If you want to be careful about it, look for materials that pass ISO 18902, the standard for photo-safe storage, including the Photographic Activity Test. That is the technical way of saying the materials will not damage the print over the long term. It is a good benchmark, and it is the one conservators use.
No frame preserves a photograph. Frames display. They protect from dust and fingers. The conservation work is yours, and it starts with light, adhesives, and acid-free board. A frame is a display case, not a vault.
How to plan a wall
A bare wall is a blank page. The mistake is to start hanging and hope it works out. It will not. Plan first, and the plan starts on the floor.
Lay the frames out on the floor in front of the wall. Move them around. Swap the big one and the small one. See what the group looks like from a few steps back. The floor is forgiving. The wall is not, once there are holes in it.
The classic arrangement is one large and several small. The large frame is the anchor. The small ones cluster around it, not in a perfect grid, but in a loose group. The eye lands on the large one and wanders to the small ones. This works because it gives the wall a hierarchy. One thing matters most, and the rest support it.
Keep the gaps even rather than the frames aligned. This is the trick that makes a group look composed. The gaps between frames should be about the same, two or three inches. If the tops are not aligned, that is fine. If the sides are not aligned, that is fine. Even gaps do the work. Aligned edges look like a failed grid. Even gaps look like a decision.
Make paper templates. Cut a piece of paper the size of each frame, tape it to the wall with painter's tape, and move the templates around until the group looks right. This is where you do the real arranging. Stand back. Adjust. Stand back again. When it looks right, you know where each frame goes. The templates also tell you where the holes will be, before you make any.
Hang at eye level. The rule of thumb is 57 to 60 inches from the floor to the center of the group. That is the height of a typical person's eyes, and it is the height that feels right in a room. Start from the middle and work outward. The middle frame is the anchor of the group, and everything else hangs in relation to it.
| Step | What you do | What you do not do |
|---|---|---|
| On the floor | Lay the frames out, largest first, and move them until the gaps are even | Measure the wall first and hope |
| Paper templates | Trace each frame, cut, tape to the wall with painter’s tape, mark the hook point | Hold a frame up with one hand and a pencil with the other |
| Eye level | Centre of the group roughly 57 to 60 inches from the floor | Hang to the ceiling or to the sofa |
| Hooks | One per frame, on the frame’s own hanger, a hook rated for the weight | One nail and a hope |
How to hang without a mess
You do not need a spirit level and a bad afternoon. You need a measuring tape, a pencil, and a hook per frame.
Each frame has its own hanger on the back. The hanger is what you hook onto the wall. Use a picture nail or a hook rated for the weight of the frame. Our frames are polyresin with glass fronts. They have weight. A small picture nail will hold a small frame. For an 8x10 with glass, use a hook rated for more. The packaging on the hook will tell you the weight, and it is better to overshoot than to undershoot.
Measure from the hanger down to the bottom of the frame. That measurement tells you where the wall hook goes. If the template on the wall shows where the bottom of the frame sits, the hook goes that distance above it. Mark it in pencil. Tap in the nail or screw in the hook. Hang the frame. Step back.
The pencil mark is covered by the frame, so nobody sees it. If you make a mistake, move the template and try again. Two holes in the wall are cheaper than a crooked wall full of frames, and patching a small hole is a five-minute job.
A small tip: hang the middle frame first. The middle is the anchor of the group. Everything else hangs in relation to it. If the middle is right, the rest is easier. If the middle is off by half an inch, the whole group will look off, and you will not be able to say why.
Mixing shapes and sizes on one wall
A wall of matching frames is a gallery. A wall of mixed frames is a life. Both are good. The mixed wall is harder, and it is worth doing.
The rule is to have a thread. The thread can be the finish. Gold frames in different shapes and sizes still read as a set because the finish is the same. The thread can also be the prints. All black and white, all landscapes, all pictures of the same person at different ages. The thread is what keeps the wall from being a jumble.
An oval among rectangles works because the oval breaks the line. It is the one that makes the wall interesting. Put the oval near the center, where the eye lands first. Let the rectangles fill the rest. The oval is the punctuation mark, and it needs a sentence around it.
One 8x10 among 4x6s works the same way. The big one is the anchor. The small ones are the chorus. The size difference is the point, and it is what gives the wall its rhythm. Big, small, small, big. The eye moves, and movement is what makes a wall alive.
The mistake is mixing without a thread. A gold oval, a silver rectangle, a bronze heart, all different sizes, no connection. That is a jumble, not a wall. Find the thread first, then mix freely. The thread is what lets you get away with the mixing.
The shelf instead of the wall
Not every frame needs a wall. A shelf is a gentler place. A row of frames on a shelf, each on its easel, is a changing gallery. You can swap them, rearrange them, move them to another room. Nothing is nailed down, and that is the pleasure of it.
The arrangement is the opposite of a wall. On a wall, the frames hang flat and the gaps are even. On a shelf, let them overlap. Let a smaller frame stand in front of a larger one. Put the tallest at the back and the smallest at the front. The depth of the shelf does the composition work, and the overlapping reads as depth rather than clutter.
A mantel is the classic shelf. Two frames of the same finish, one at each end, is a safe arrangement. Or a small group at one end and a single object at the other. A bookshelf works too, a frame leaning against the books or standing in a gap between them.
The easel makes this easy. You do not have to hang anything. You set the frame down and it stands. That is the point of the easel. It turns a frame into a piece of furniture, something that lives in a room rather than on a wall.
The one print that goes in first
Every wall, every shelf, every mantel starts with one print. The one you keep coming back to. The one that has a story. The one you would grab if the house were on fire, though you would probably grab the cat instead and then feel bad about the print.
Put that one in first. Frame it, stand it up, hang it, and let the rest of the arrangement happen around it. The other frames are the supporting cast. They fill the wall, they balance the composition, they give the eye somewhere to go. But the first one is the reason the wall exists.
Sunlit makes frames for the prints people actually have. The sizes are the real sizes. The shapes are the ones that do something. The finishes are the ones that catch light the way old metal does. If you have a drawer of prints and a bare wall, start with the one you love most. Everything else will find its place around it.